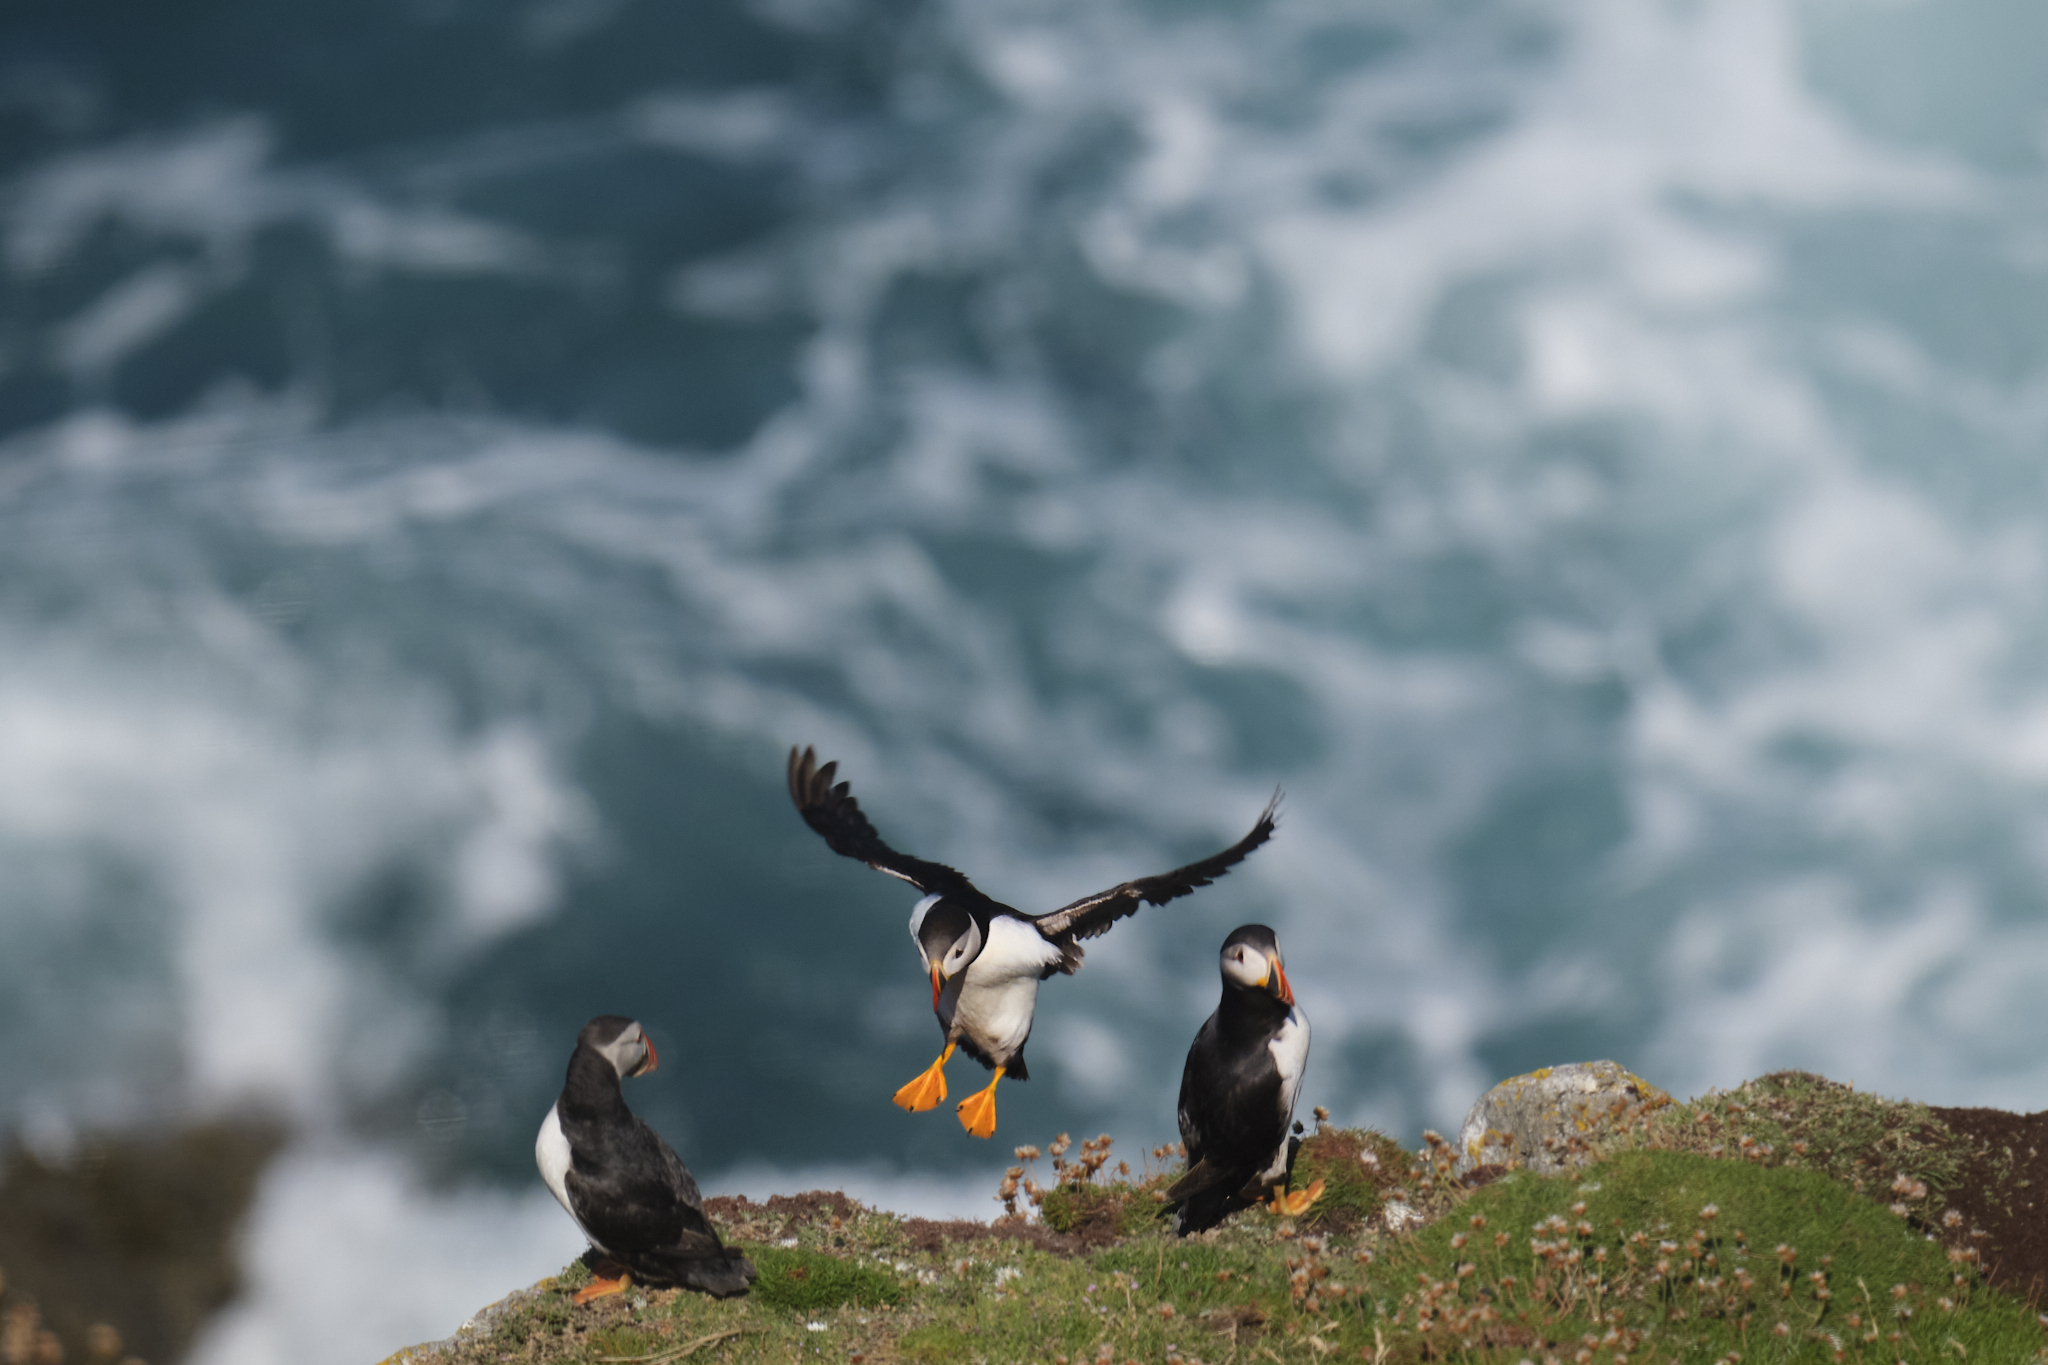
Photographing Puffins in flight can be frustrating; the birds are small and fast, making framing difficult. They flap their wings that are more suited to ‘swimming’ underwater – faster than flying, at up to 400 times a minute – not as fast as a Hummingbird granted, but still requiring a fast shutter speed to freeze the action. Here’s a few photography tips for photographing eveyone’s favourite “clown of the sea”, based on my Lundy experiences.

As always, spend a bit of time studying their behavior, favourite flight paths and landing spots, allows you to anticipate their movements and gives a greater degree of success.
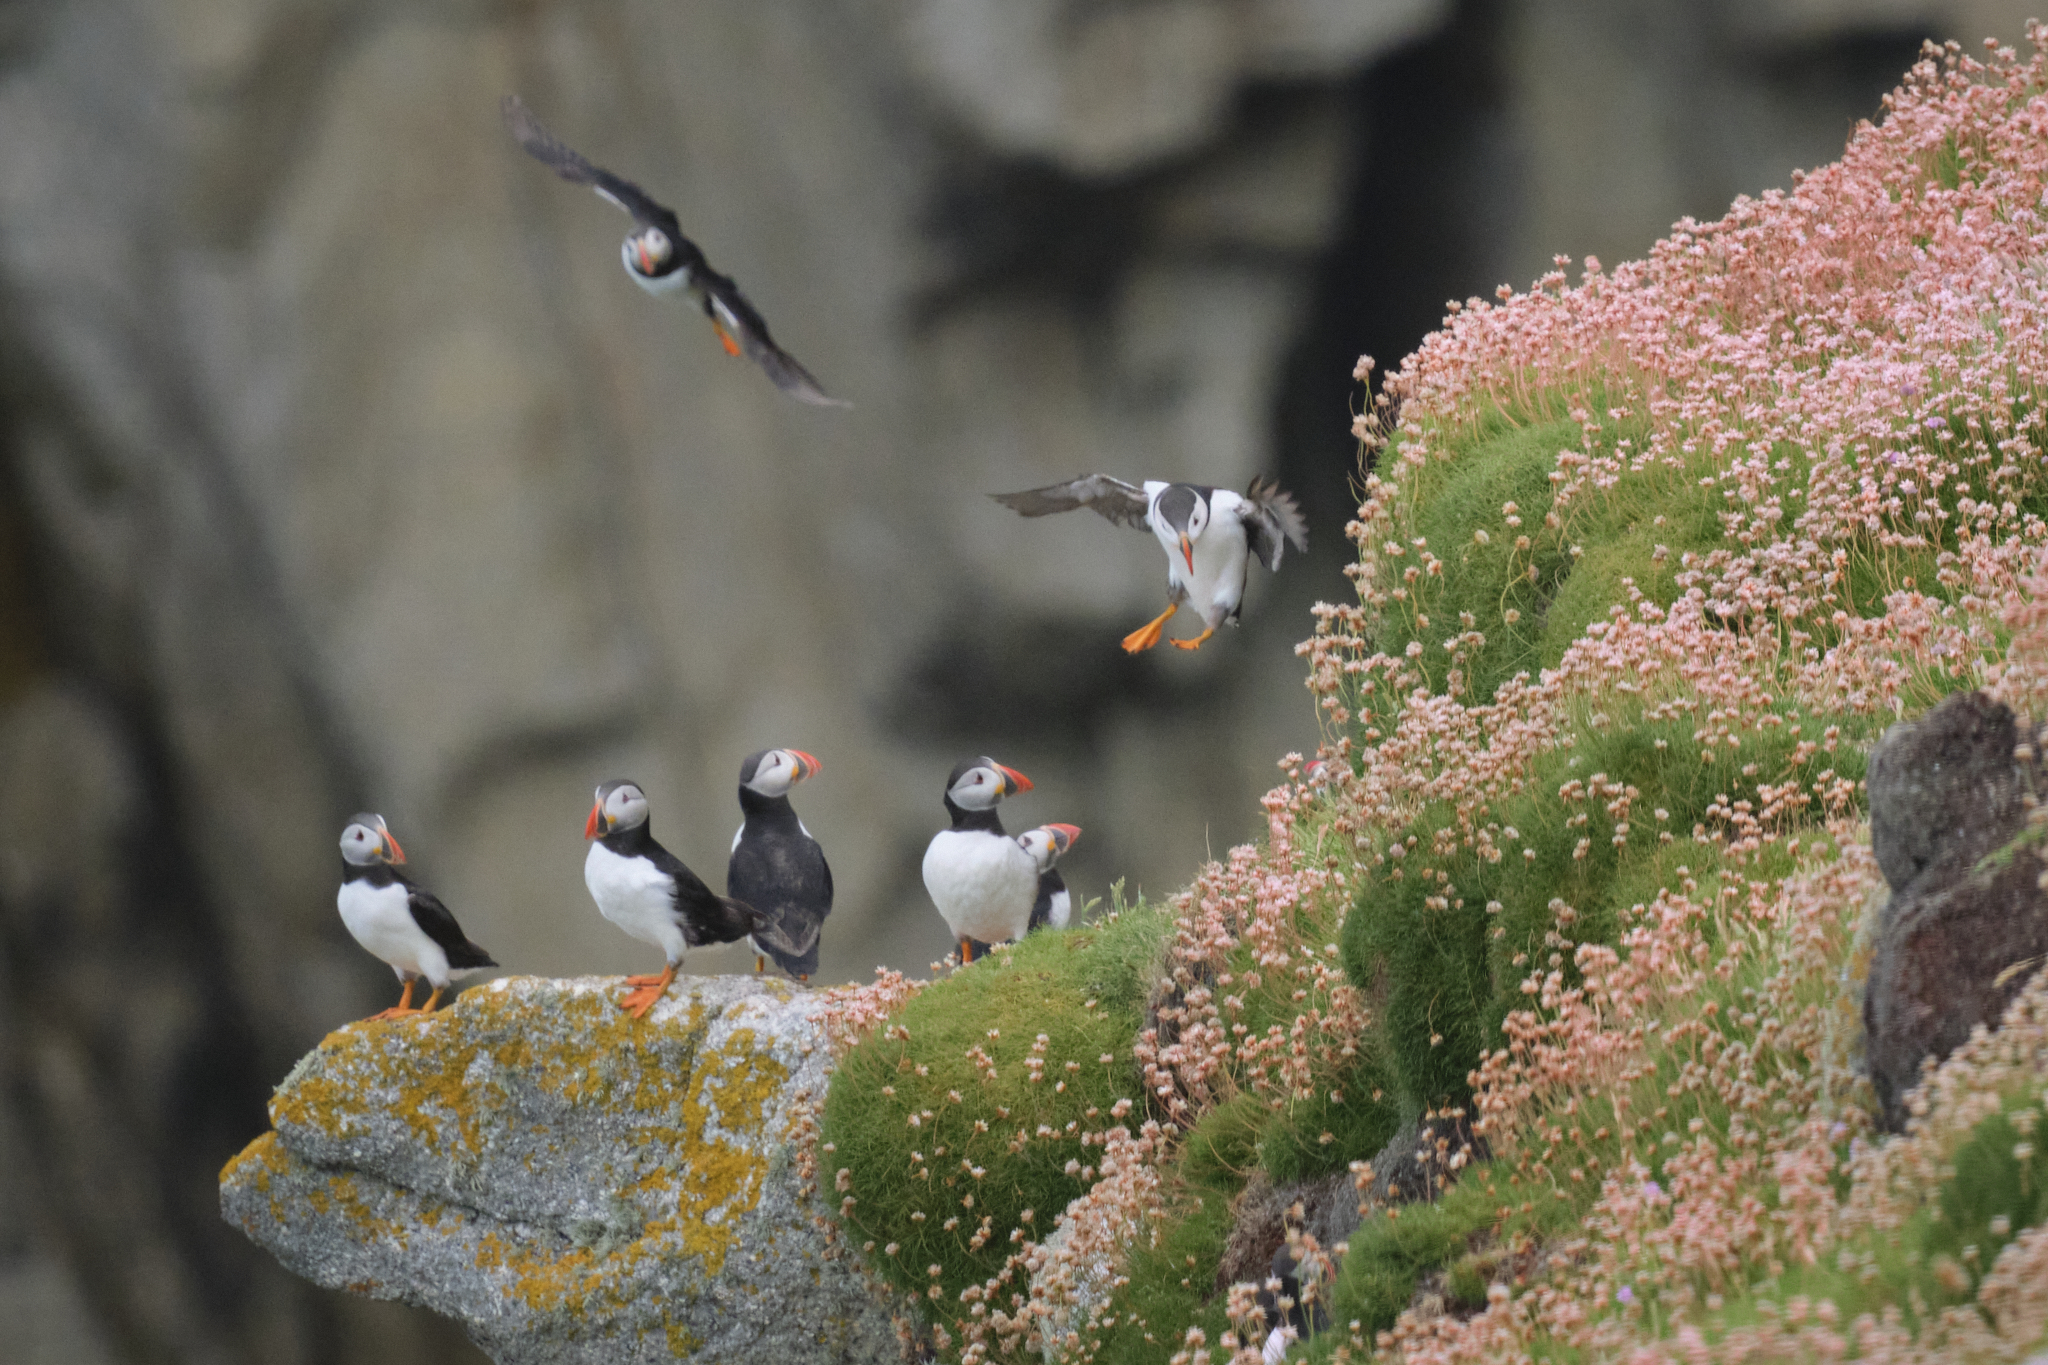
A long telephoto or prime lens allows you to distance yourself from the subject and witness more natural behaviour. It’s not so important on the Isle of May or Skommer, where puffins are almost within touching distance, but on Lundy, where the population is fragile, and almost wiped out as recently as 15 years ago, it is important not to disturb burrows or birds.
Long lenses take a bit of practice to hand hold and track birds in flight. Before your dream trip, practice on birds in your local area; swallows are very tricky and an ideal surrogate.
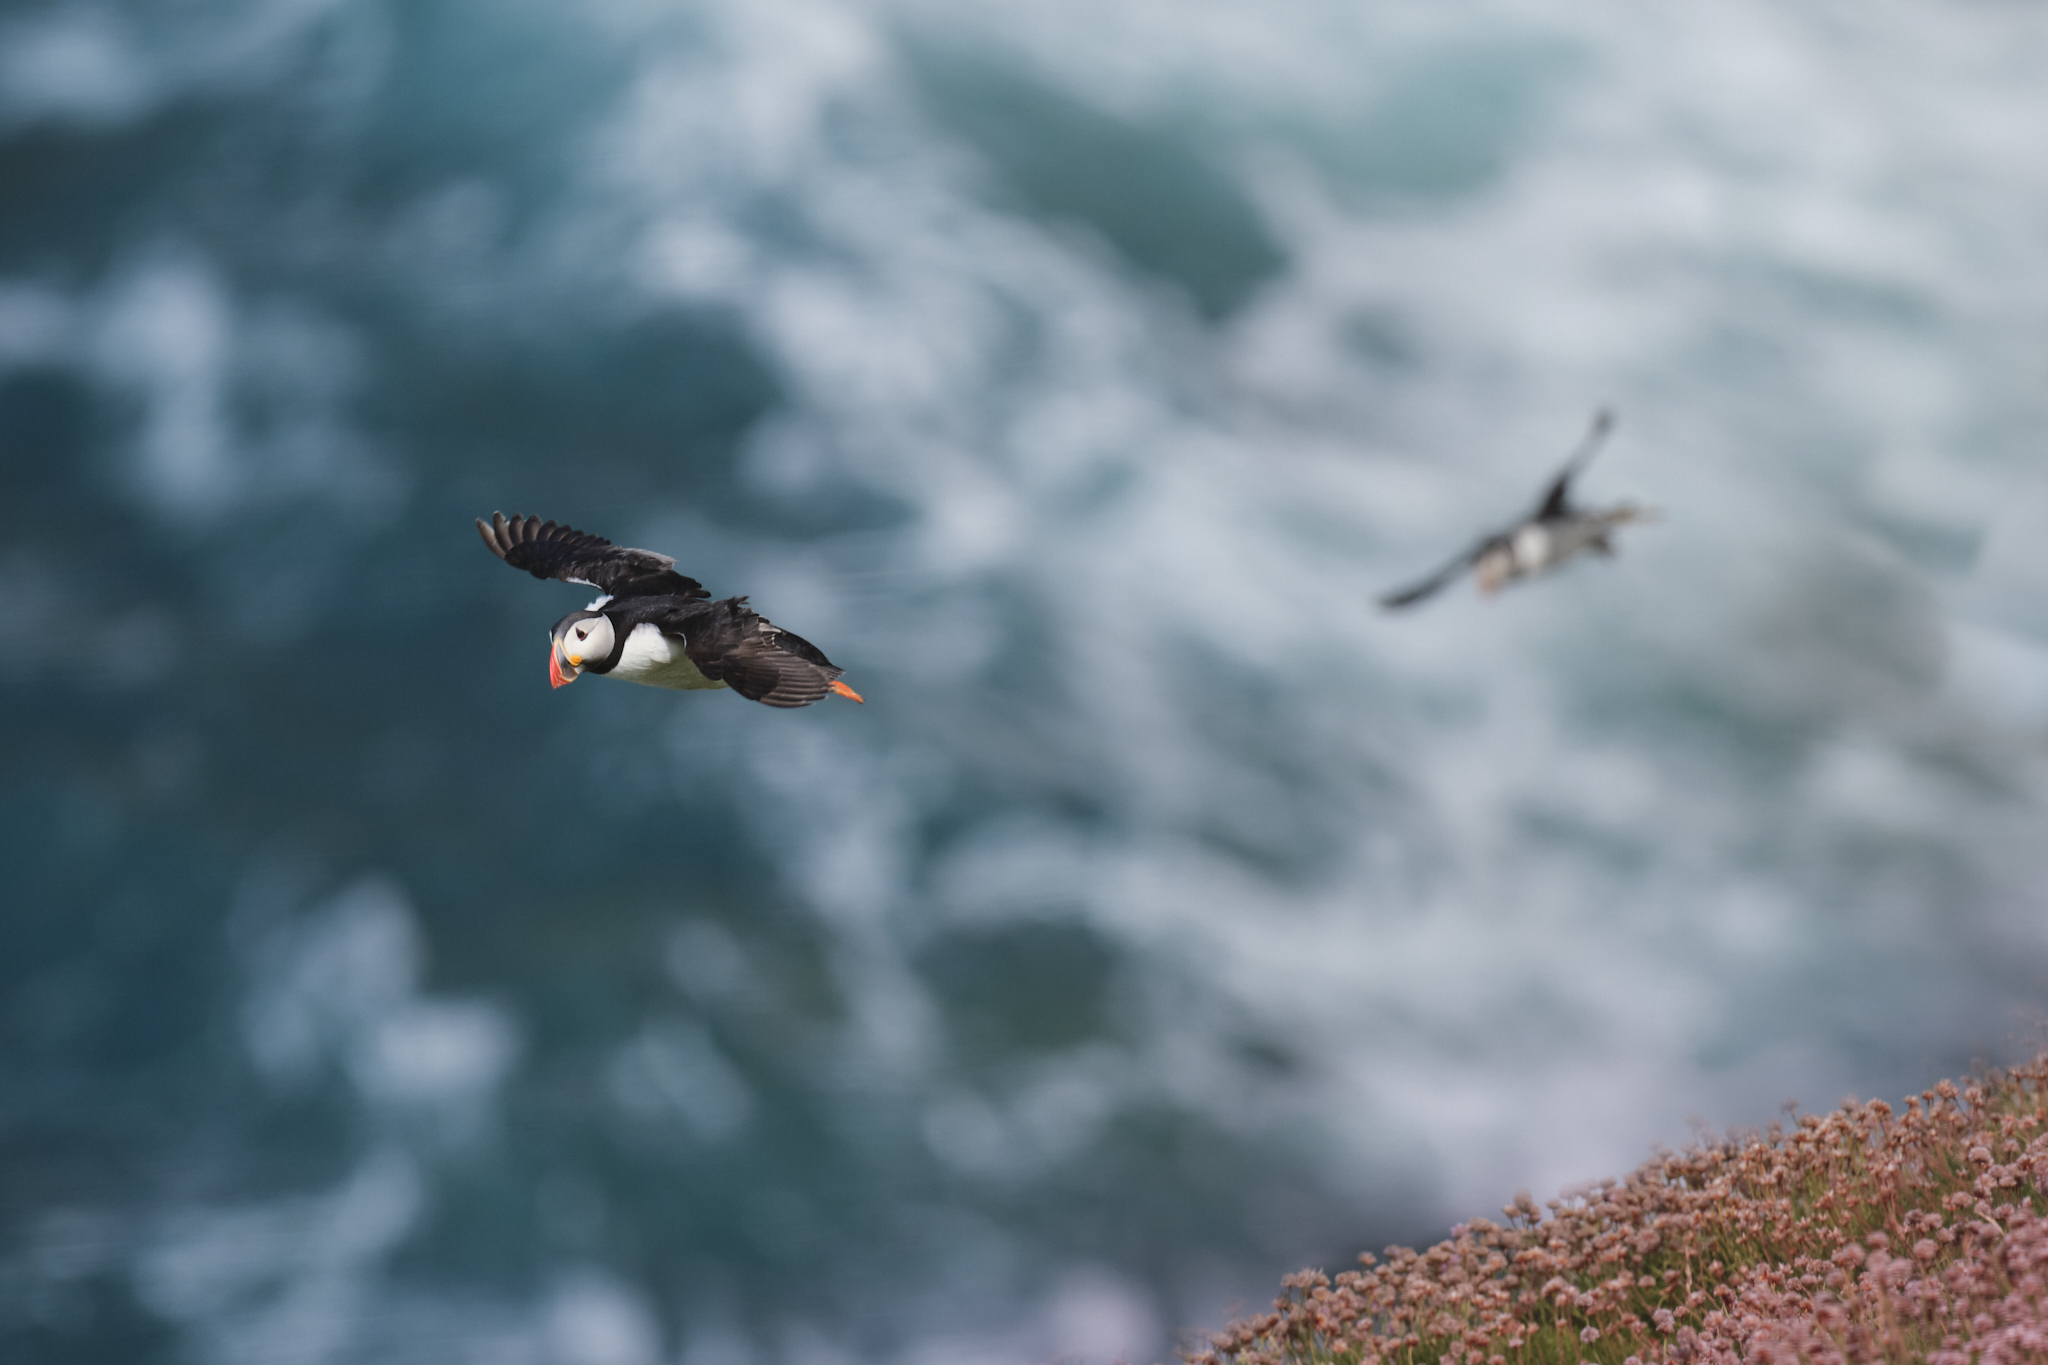
Composition is so difficult with fast flying Puffins, so a high burst rate is an aid to getting a composition that you like. In the days of film shooting 10 frames per second meant that a roll of film only lasted four seconds and it was expensive, however with digital photography it costs nothing to shoot at 15 frames a second (my preferred rate) and you can cull the duds. Make sure you have enough card space or a hard drive to download a session’s shots.

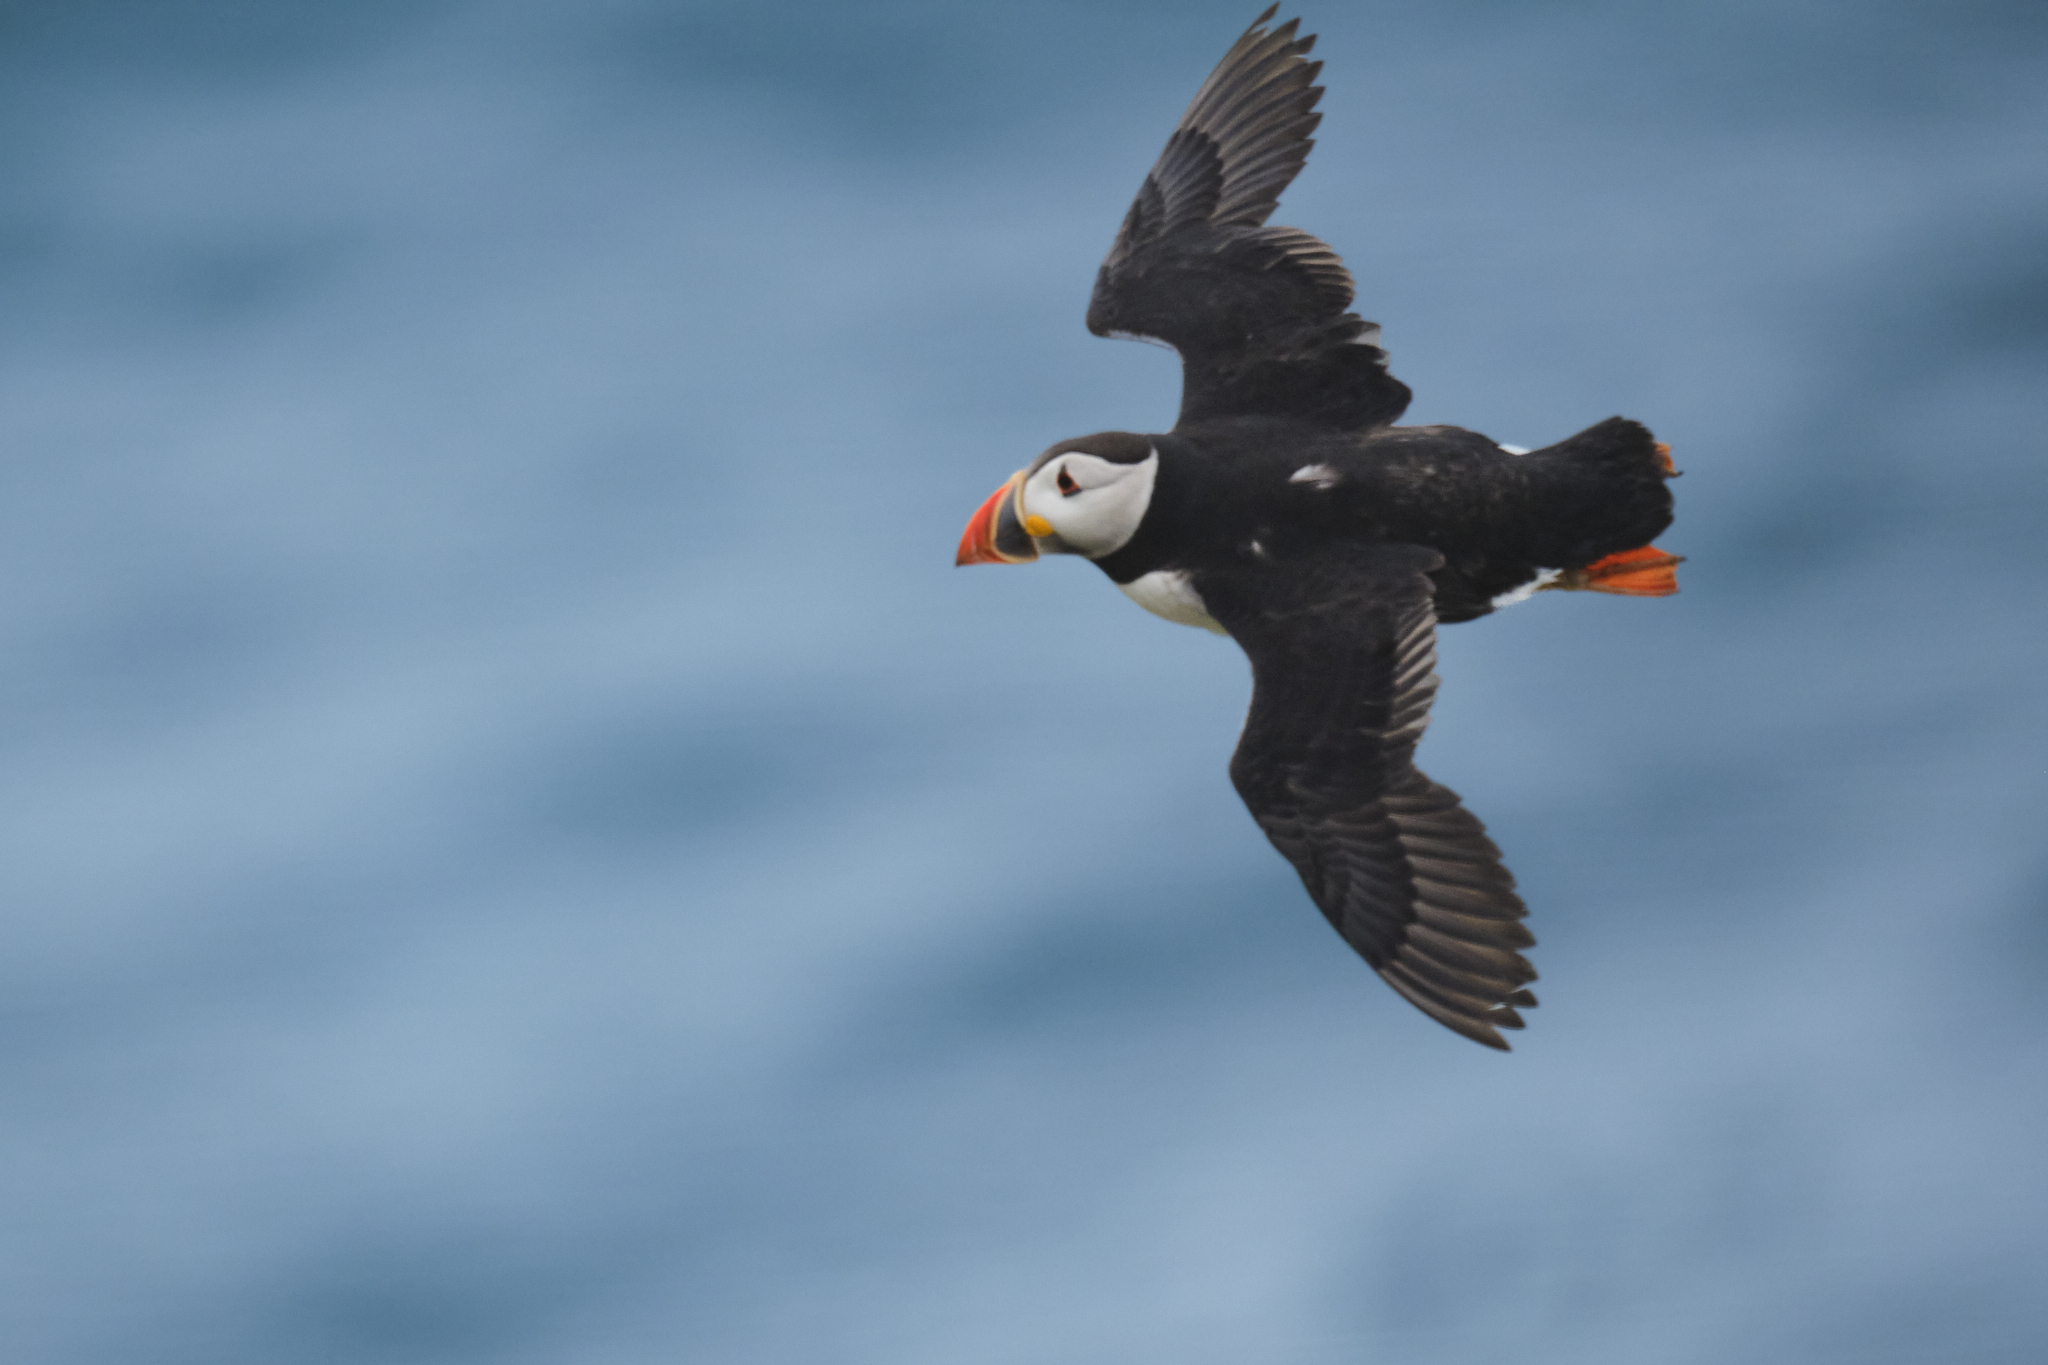
When I shoot surfers I use a minimum of 1/1000 th of a second shutter speed. For puffins I typically use 1/2500 th of a second to freeze the action. This puts pressure on your ISO settings, so good light helps and modern mirrorless cameras seem generally to be less noisy at higher ISO setting then older models.
Post processing, I use Capture One on my RAW files, which can help bring out the best of your shots, especially by using increased contrast and then adjusting the blacks to taste. Nose reduction, if required, can be carried out with a variety of software packages to taste, but personally I don’t used noise reduction.
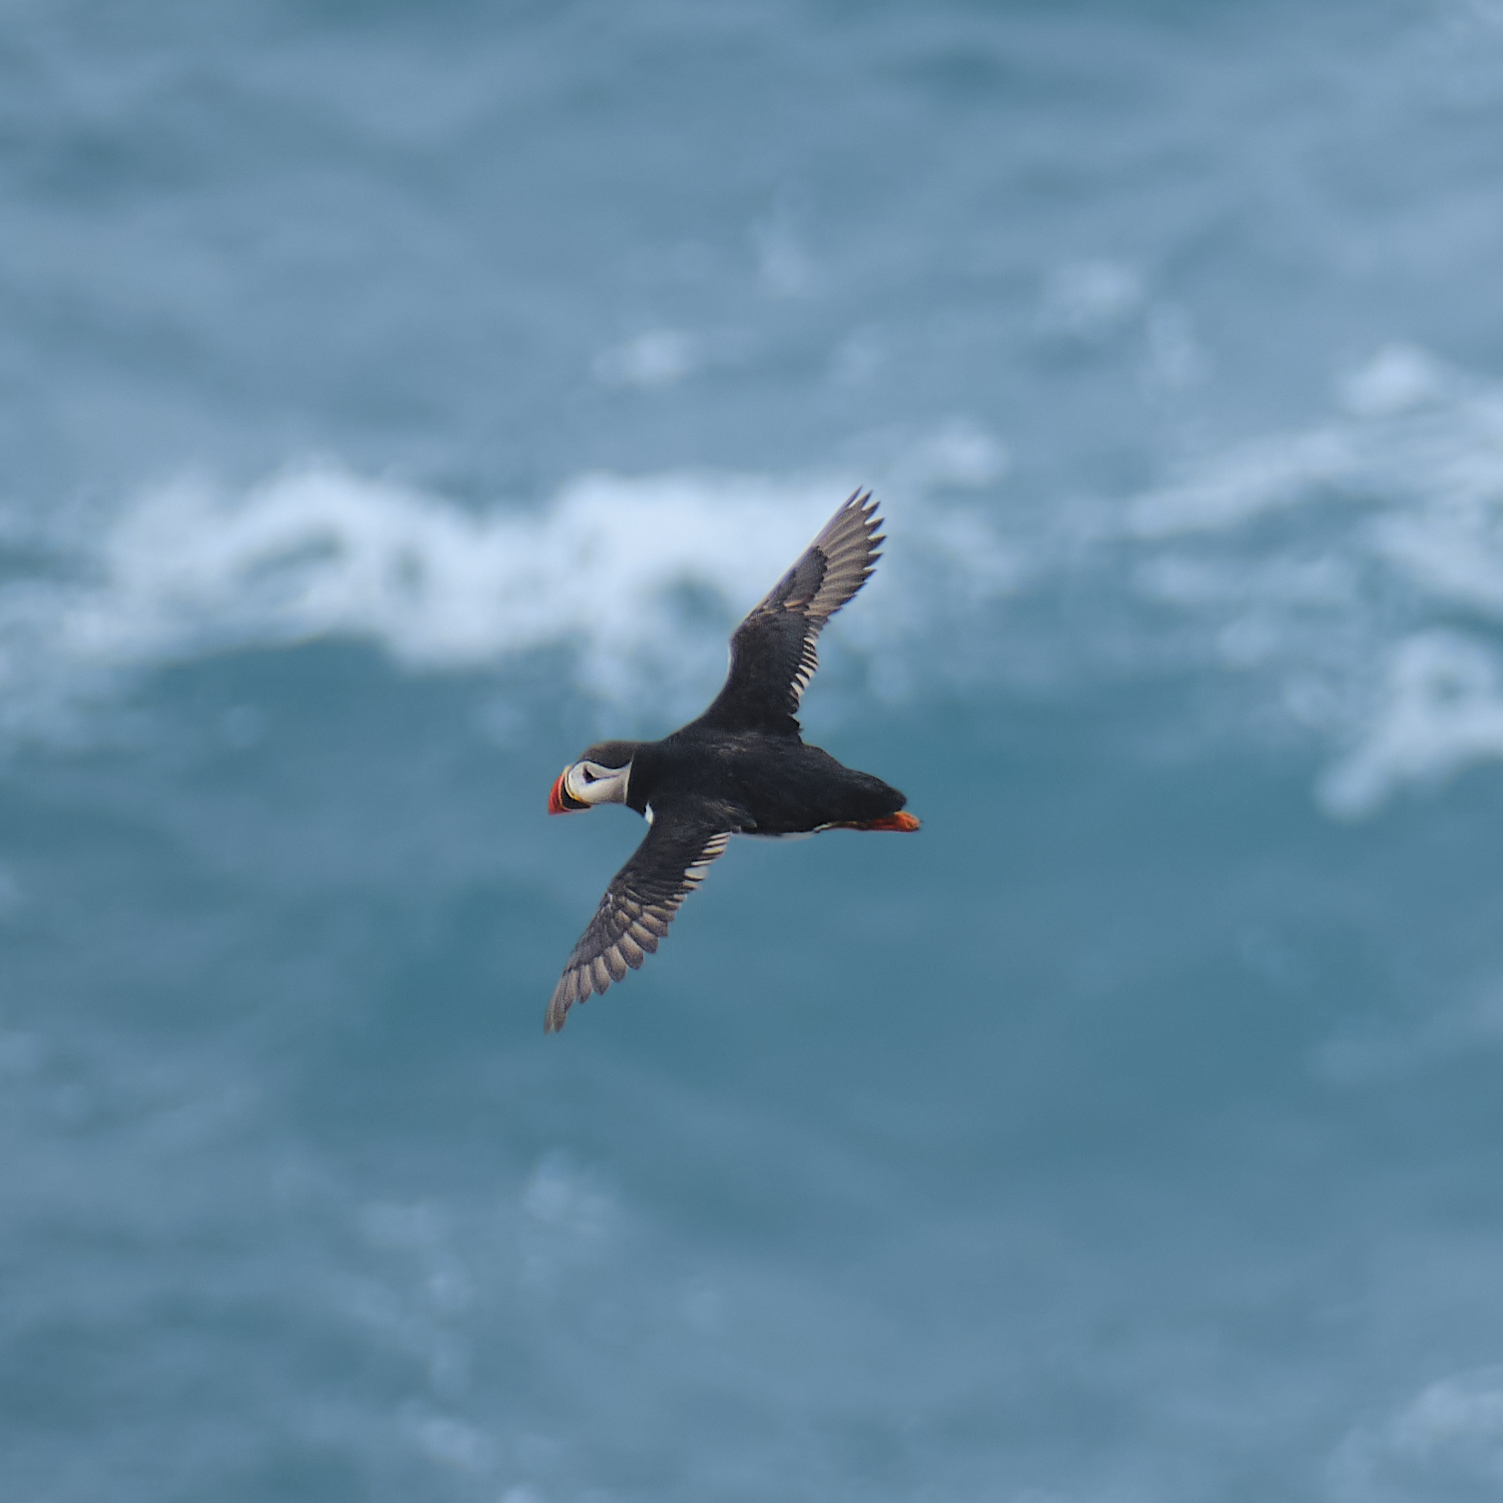
A full description of my auto focus settings are below, but I have used the wide tracking setting on these with great success. Various models have different settings but the more you use your camera and get comfortable with settings and handling them, the more success you ultimately achieve. This shot below is my favourite from the seventh day of a recent trip and is also a candidate for the Calendar.

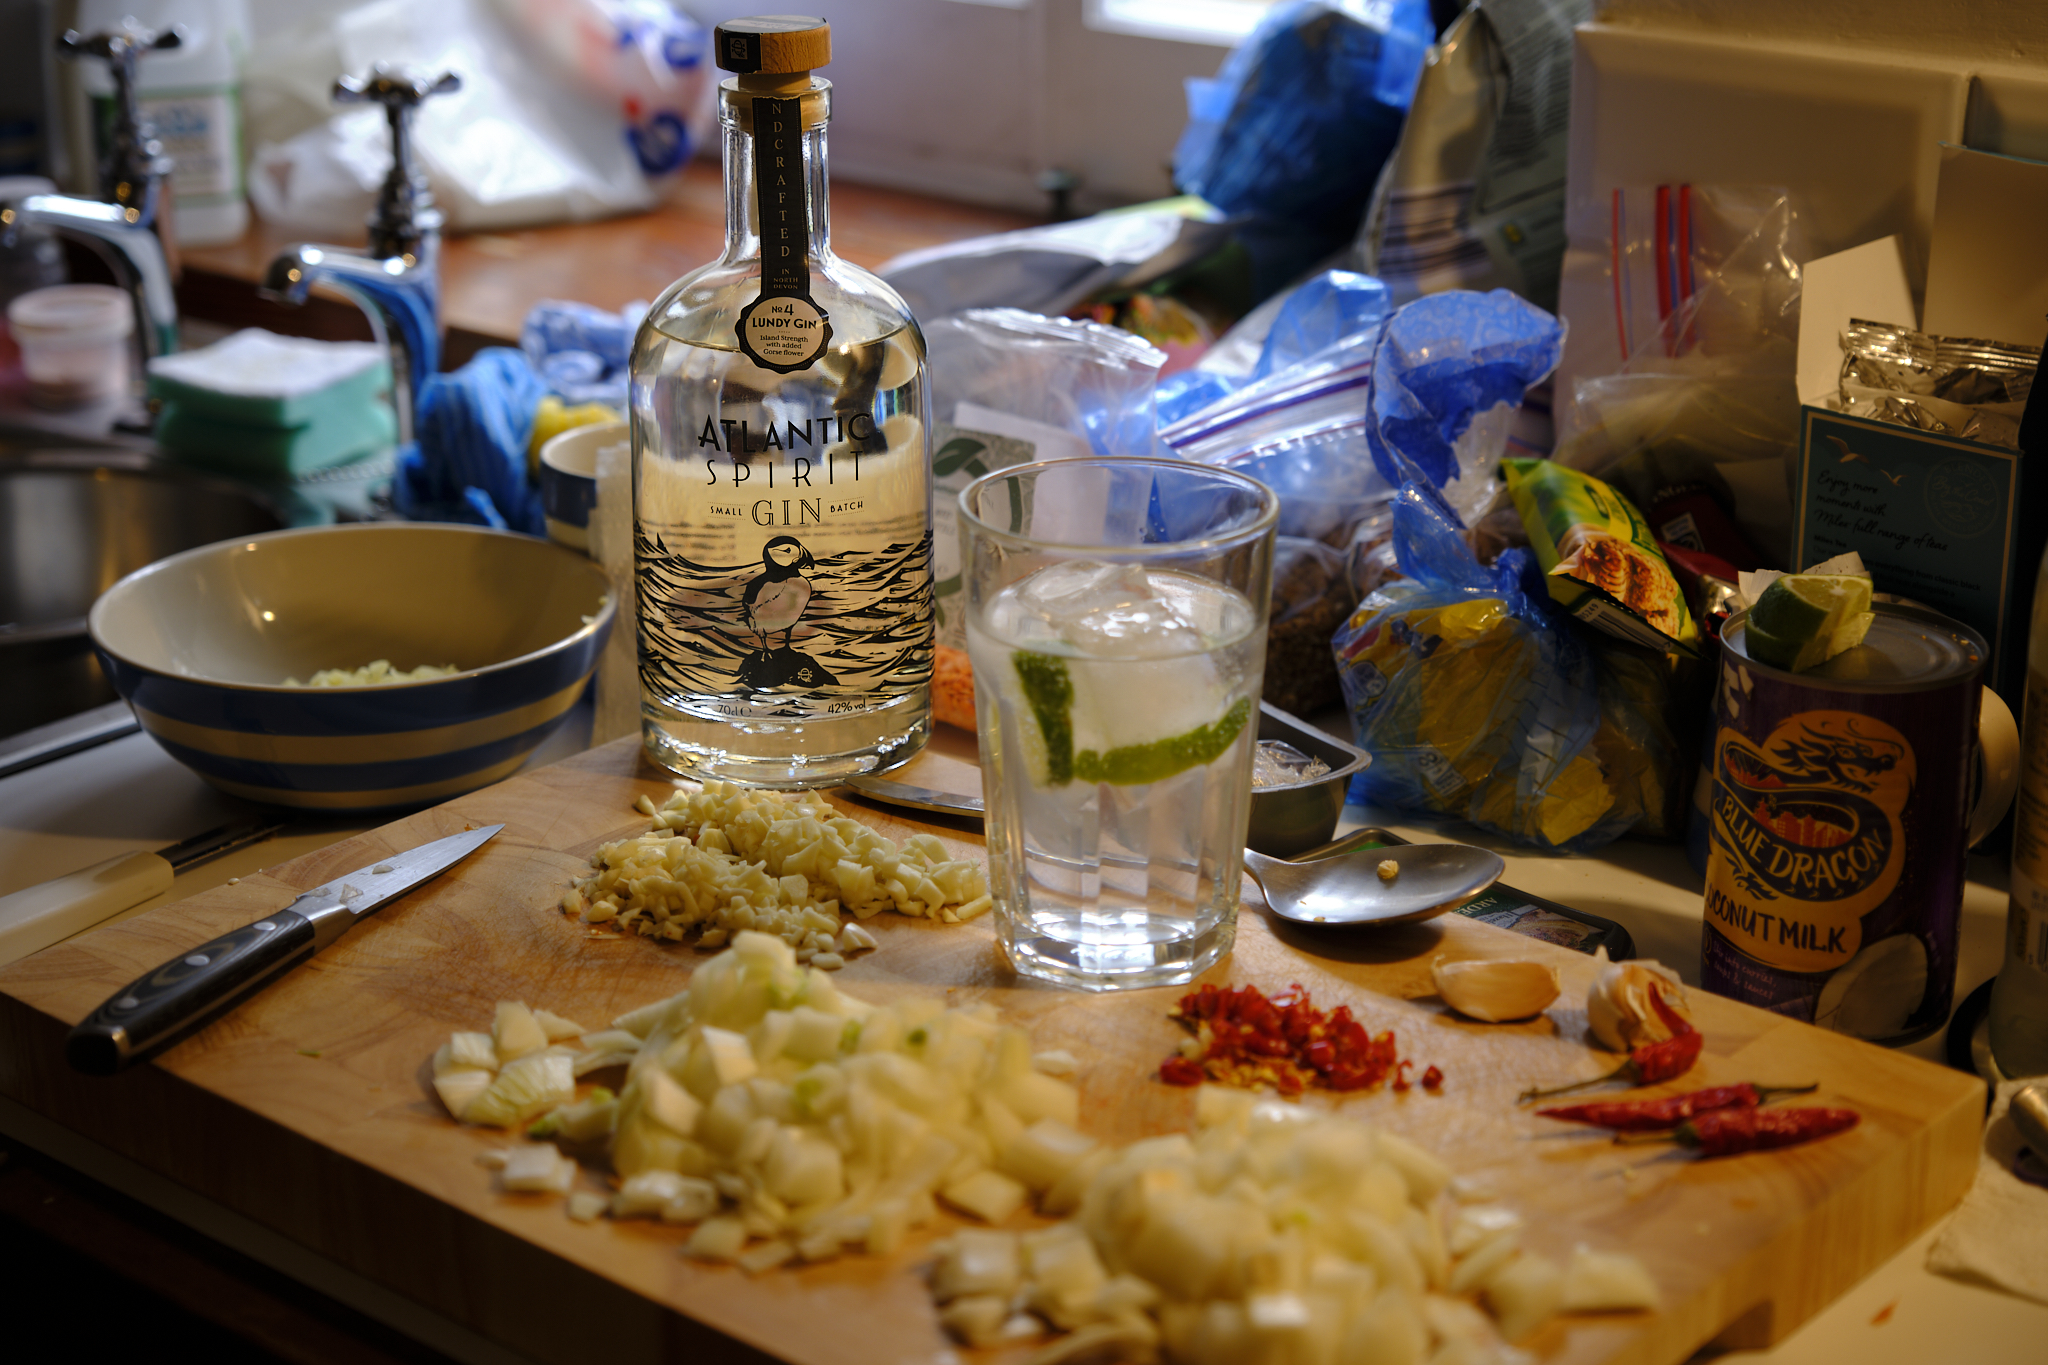
At the end of a hard days shoot, it’s always good to chill out and edit with good food and drink. Friday night is curry night at Castle Keep South.
For the nerdy, here are the settings mainly used on this trip for BIF on the Fujifilm XH-2, c/w Fujinon XF 500mm f5.6 (IOS on). Stored on my C2 (Custom setting dial). Auto WB.
Shutter priority 2500 th of a second.
Auto ISO (max 12800).
Aperture f5.6.
AF Mode: Wide/Tracking. Continuous AF – Custom setting (Tracking sensitivity +1, Speed tracking +1), Subject detection (Bird) on.
Please share below your AF settings.
This post is optimised for a big screen, click on the image to get the full joy.
Sorry if you are on a square phone, probably better to follow me on Insta (esterspearspix).
Thank you for looking.
Check out my portfolio https://www.esterspearsphotography.com/
Or if you want:
Buy me a cuppa tea.
![]()


Posted on July 9, 2025
0